Learn how to combine UV flatbed printers, CO2 lasers, and CNC routers for efficient multi-machine production. Real workflow examples for sign shops, packaging, and personalized products.
Why Multi-Machine Workflows Matter
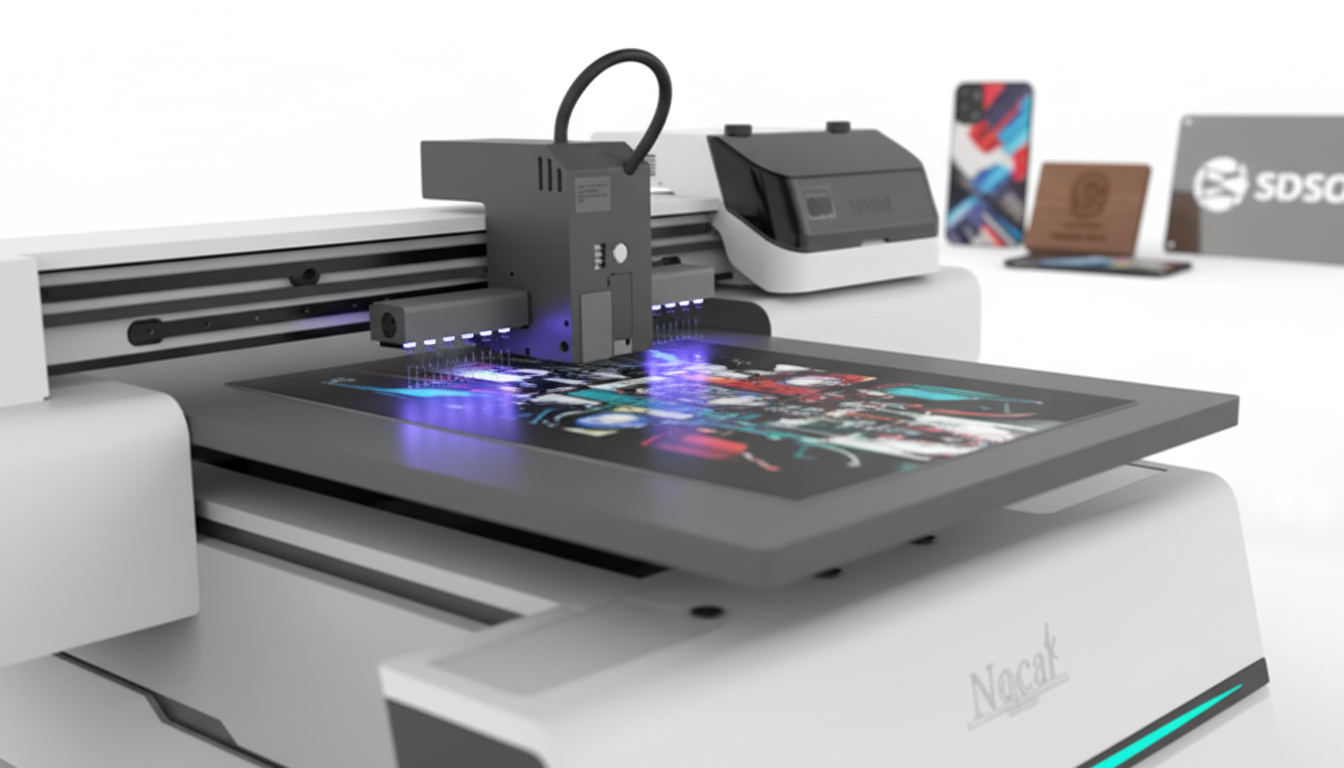
No single machine does everything well. UV printers excel at applying graphics. Lasers excel at fine cutting and engraving. CNC routers excel at structural work and thick materials. When you combine these capabilities strategically, you create production possibilities that no single machine can match.
Limitations of Single-Machine Production
- UV printer alone: Beautiful graphics but can't cut complex shapes
- Laser alone: Precise cutting but no full-color graphics
- CNC router alone: Structural capability but limited detail and no printing
Advantages of Integrated Production
- Complete capability: Print, cut, carve, engrave—all in-house
- Faster turnaround: No outsourcing delays
- Quality control: Every step under your supervision
- Higher margins: Capture full value chain
- Competitive differentiation: Offer what others can't
Common Machine Combinations
UV Printer + CO2 Laser
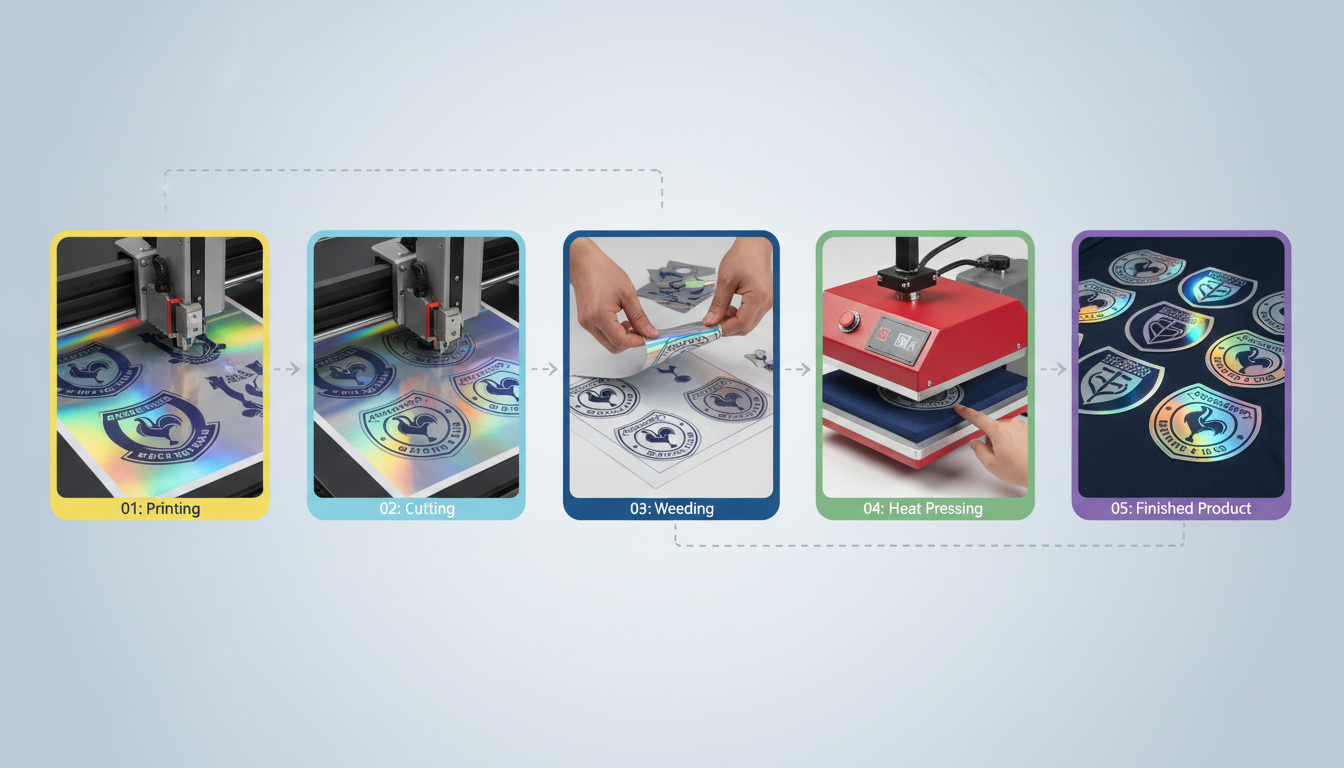
The print-to-cut workflow foundation:
- UV printer applies graphics and registration marks
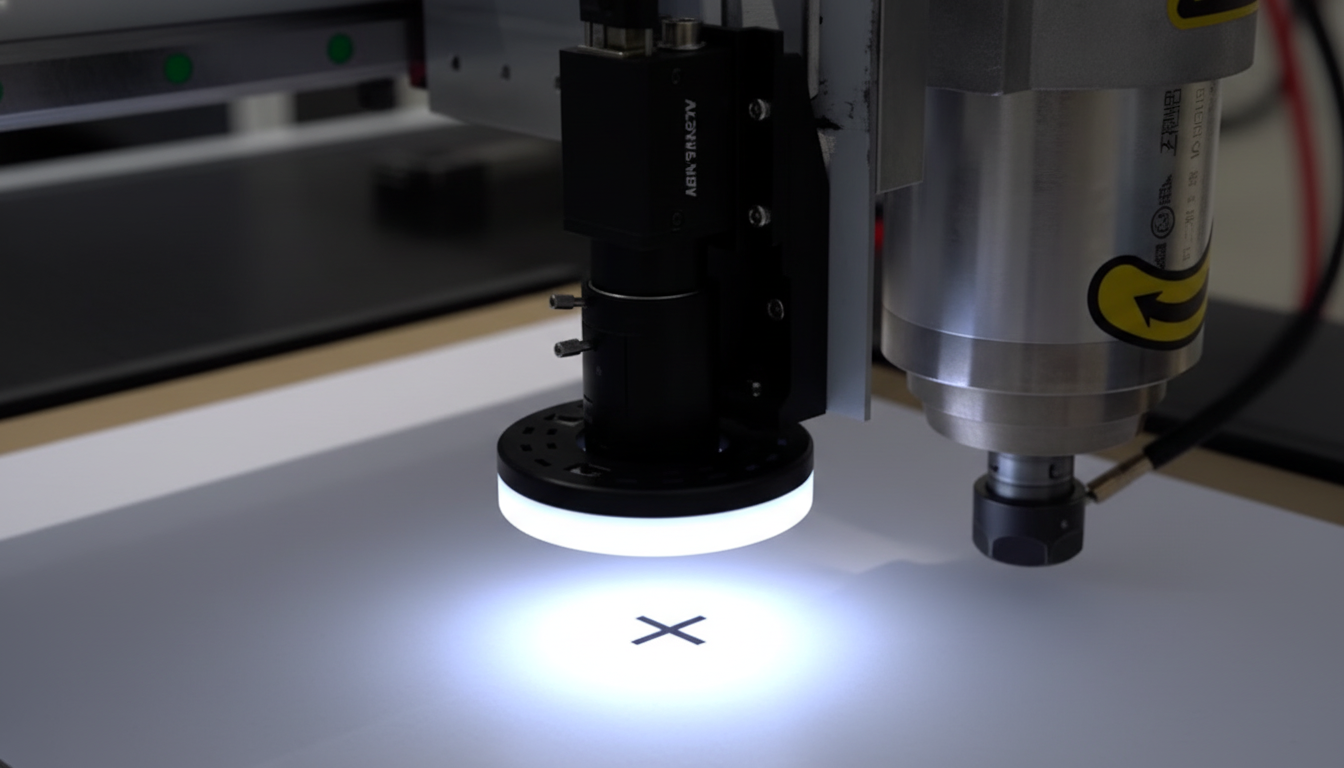
- CO2 laser (with CCD camera) contour cuts around prints
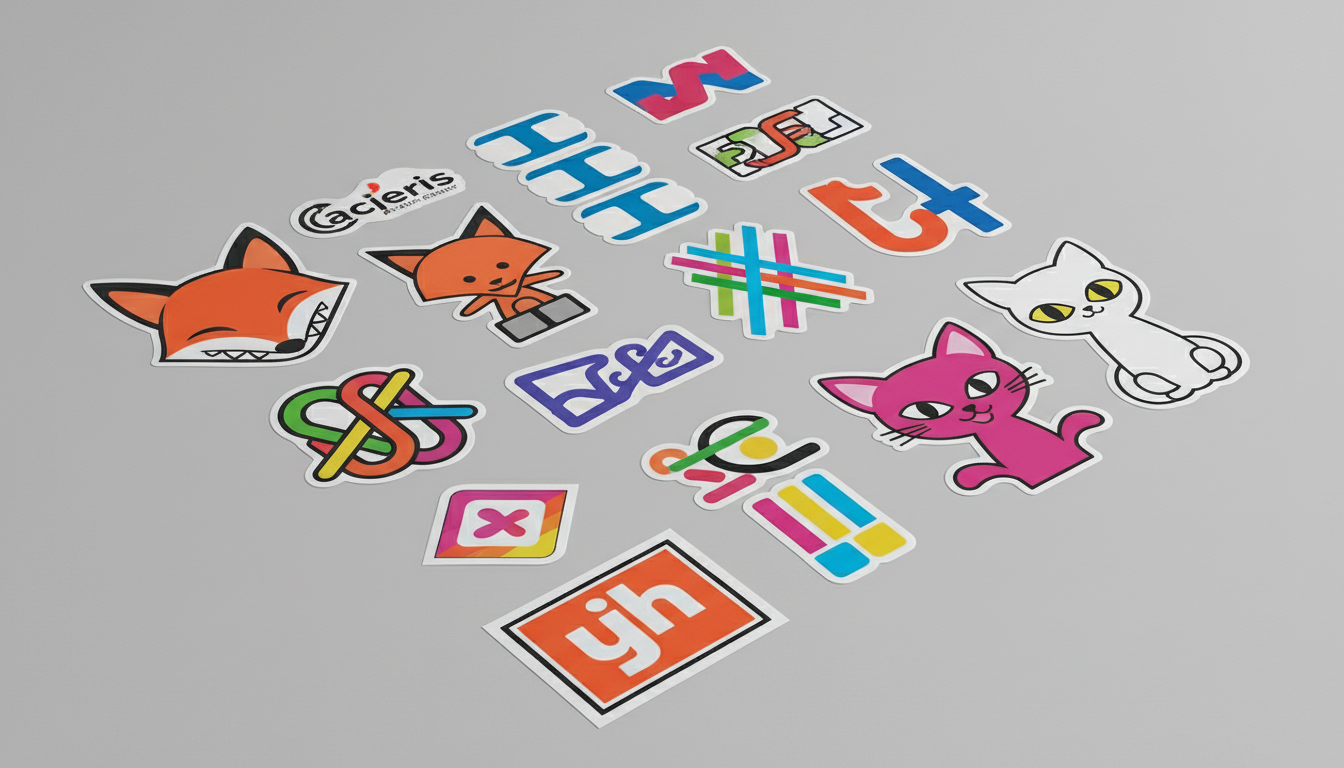
- Perfect for: Stickers, labels, thin signage, packaging prototypes
CNC Router + CO2 Laser
Fabrication plus finishing:
- CNC router cuts structural shapes, routes pockets, carves 3D
- CO2 laser adds fine detail, engraving, decorative cuts
- Perfect for: Dimensional signs, furniture with engraving, detailed woodwork
UV Printer + CNC Router
Printed dimensional work:
- CNC router cuts and shapes rigid substrates
- UV printer applies graphics to shaped pieces
- Perfect for: Printed acrylic signs, dimensional displays, custom panels
All Three: Complete Production Capability
Maximum flexibility:
- UV printer for full-color graphics on any substrate
- CNC router for structural cutting and 3D work
- CO2 laser for fine detail, engraving, and contour cutting
- Perfect for: Full-service sign shops, custom fabrication, product manufacturing
Workflow Example: Custom Signage Shop
A typical dimensional sign project demonstrates multi-machine integration:
Project: Illuminated Dimensional Sign
Customer requirement: 24" x 36" sign with raised letters, printed face panel, LED backlighting
Production Sequence
Step 1: CNC Router - Structural Work
- Cut 1" HDU foam base panel
- Route pocket for LED strip channels
- Cut dimensional letter shapes from 1" HDU
- Route wire routing channels
Step 2: CO2 Laser - Detail Work
- Cut 3mm white acrylic face panel to exact size
- Cut decorative border elements from acrylic
- Engrave alignment marks on letter backs
Step 3: UV Printer - Graphics Application
- Print full-color graphics on acrylic face panel
- Print white backing layer for opacity
- Print letter faces with customer logo
Step 4: Assembly
- Install LED strips in routed channels
- Mount dimensional letters
- Attach printed acrylic face
- Wire and test
Why Multi-Machine Matters Here
This project would be impossible with any single machine. The CNC router handles thick foam and structural routing. The laser cuts acrylic with polished edges. The UV printer applies graphics directly to the shaped pieces. Together: a complete custom sign produced in-house.
Workflow Example: Packaging Prototyping
Rapid packaging development showcases integrated workflows:
Project: Custom Product Box Prototype
Requirement: Printed, die-cut box sample for client approval within 24 hours
Production Sequence
Step 1: Design
- Create dieline with print graphics in design software
- Separate print layer (graphics, registration marks)
- Separate cut layer (through-cuts, creases, perforations)
Step 2: UV Printer
- Print graphics + registration marks on 18pt SBS paperboard
- CMYK + white + gloss varnish
Step 3: CO2 Laser or Digital Cutter
- CCD camera detects registration marks
- Cut through-cut lines
- Score crease lines (laser at lower power or creasing wheel)
- Perforate tear-away sections
Step 4: Finishing
- Hand fold along score lines
- Glue tabs as needed
- Quality check against design
- Present to client
The Speed Advantage
Traditional die cutting requires steel rule die fabrication (2-5 days + significant cost). Multi-machine digital production: same day, zero tooling cost. For prototypes and short runs, this changes everything.
Workflow Example: Personalized Products Business
Variable data and customization leverage all three machines:
Project: Custom Branded Awards
Product: Acrylic trophies with individual recipient names, company logos, custom shapes
Production Sequence
Step 1: CNC Router - Structural Elements
- Cut wooden bases with mounting pocket
- Route decorative profile on base edges
- Drill mounting holes
Step 2: CO2 Laser - Acrylic Work
- Cut custom trophy shapes from 6mm clear acrylic
- Polished edges from laser cutting
- Engrave award text and company logo (back side)
- Variable data: each piece has different recipient name
Step 3: UV Printer - Color Enhancement
- Print color fills in engraved areas
- Print company logo in full color on acrylic
- Print data plates for base
Step 4: Assembly
- Mount acrylic to wooden base
- Attach data plate
- Package in presentation box
The Personalization Advantage
Every piece is different, yet production is efficient. The laser handles variable engraving easily. The UV printer handles variable data printing. CNC router batches structural components. Result: custom products at near-mass-production efficiency.
Optimizing Multi-Machine Production
File Organization
- Use consistent naming conventions across machines
- Maintain master files with all operations defined
- Export machine-specific files with clear version control
- Document which machine handles which operation
Nesting and Material Optimization
- Nest parts for each machine's cut operation
- Account for material flow between stations
- Balance batch sizes across operations
- Minimize material handling between machines
Machine Scheduling
Coordinate operations to maximize throughput:
- Identify bottleneck machine for each job
- Schedule parallel operations where possible
- Balance setups across machines
- Build buffer inventory at bottlenecks
Quality Checkpoints
- Check after each operation, not just at end
- Verify registration before cutting operations
- Inspect print quality before laser work
- Test fit before final assembly
Facility Layout Considerations
Material Flow
Arrange equipment to minimize handling:
- Printer outputs near cutter inputs
- Assembly area receives from all machines
- Raw material storage feeds all equipment
- Finished goods staging at end of flow
Infrastructure Requirements
Power:
- Each machine has different power requirements
- Plan circuits to avoid overloading
- Consider dedicated circuits for large equipment
Ventilation:
- Laser requires fume extraction
- CNC router requires dust collection
- Separate systems or combined with proper filtration
- Make-up air for exhaust systems
Network:
- All machines benefit from network connectivity
- Centralized file storage
- Production management software
- Remote monitoring capability
Operator Workflow
- Single operator managing multiple machines?
- Dedicated operators per machine?
- Cross-training for flexibility
- Sight lines between equipment
Building Your Integrated Shop
Starting Equipment Recommendations
Print-focused business:
- UV flatbed printer (core capability)
- CO2 laser with CCD (print-to-cut)
- CNC router later (structural work as needed)
Fabrication-focused business:
- CNC router (core structural capability)
- CO2 laser (detail and engraving)
- UV printer later (add graphics capability)
Custom products business:
- CO2 laser (versatile starting point)
- UV printer (add color capability)
- CNC router (add structural capability)
Expansion Planning
- Leave space for additional equipment
- Oversize electrical infrastructure
- Plan ventilation for growth
- Consider software that scales across machines
Training Across Platforms
Multi-machine production requires broader skills:
- Understanding each machine's strengths and limits
- File preparation for multiple outputs
- Material knowledge across all processes
- Troubleshooting at each stage
Contact our team to discuss building your integrated production capability. We can help you plan equipment acquisition, workflow design, and training across all platforms.
Browse our full equipment selection—UV printers, CO2 lasers, and CNC routers with US support and training.
Ready to get started?
Browse our equipment inventory or get in touch with our team for expert advice on your next project.