Master the complete print-to-cut workflow. Learn how to combine UV flatbed printers with laser or digital cutters using CCD camera systems for precise contour cutting of stickers, labels, packaging, and more.
What Is Print-to-Cut Production?
Print-to-cut is a production workflow where graphics are first printed on a material, then precisely cut to follow the printed design's contours. Unlike cutting simple rectangles, print-to-cut creates custom-shaped products where the cut edge follows the graphic—die-cut stickers, contoured labels, shaped packaging, and more.
This workflow has transformed custom product manufacturing. What once required expensive steel rule dies or manual cutting can now be done digitally, on demand, with perfect registration between print and cut.
Why Print-to-Cut Is Growing
- Short runs are economical: No tooling costs mean even single pieces are viable
- Rapid turnaround: Same-day production is possible
- Design flexibility: Any shape, any quantity, no compromises
- Variable data: Every piece can be different
- Reduced waste: Nest shapes efficiently, cut only what's needed
Common Print-to-Cut Products
- Custom stickers and decals
- Die-cut labels
- Packaging prototypes and short runs
- Point-of-purchase displays
- Floor graphics with safe zones
- Apparel transfers and patches
- Magnets and promotional items
- Window graphics
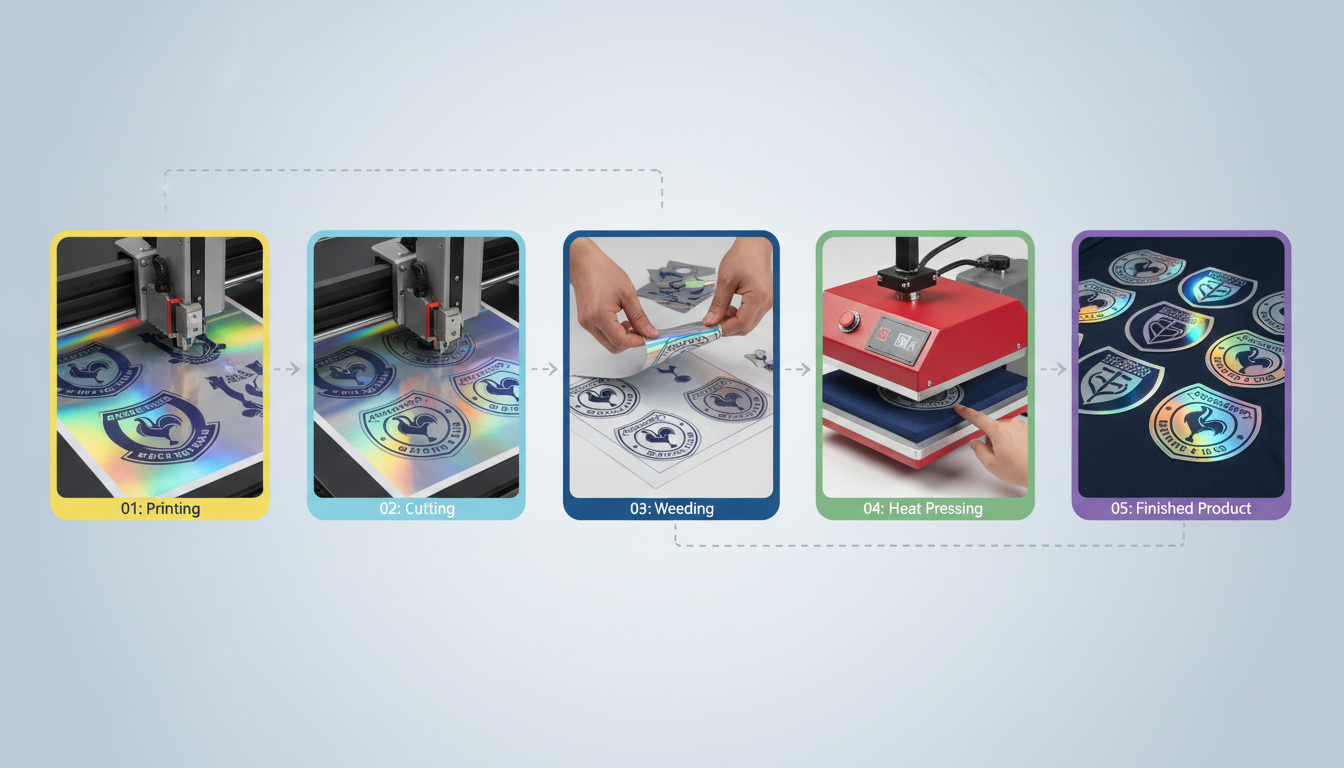
The Complete Print-to-Cut Workflow
Step 1: Design Creation with Cut Paths
Everything starts in your design software. You'll create two elements:
- Print layer: The graphic that will be printed (full color artwork)
- Cut layer: Vector paths that define where the cutter will cut
The cut path typically follows the graphic outline, often with a small offset (bleed) to ensure edge coverage. Organize these on separate layers for easy separation later.
Step 2: Adding Registration Marks
Registration marks are the key to alignment. These are printed targets that the CCD camera will detect to locate the print position. Most workflows use:
- Three or four marks: Positioned around the print area
- High contrast: Black marks on white background (or reverse)
- Standard size: Typically 5-10mm diameter circles
- Consistent spacing: Outside the cut area but within the bed
Many RIP (Raster Image Processor) software packages add registration marks automatically when you output the print file.
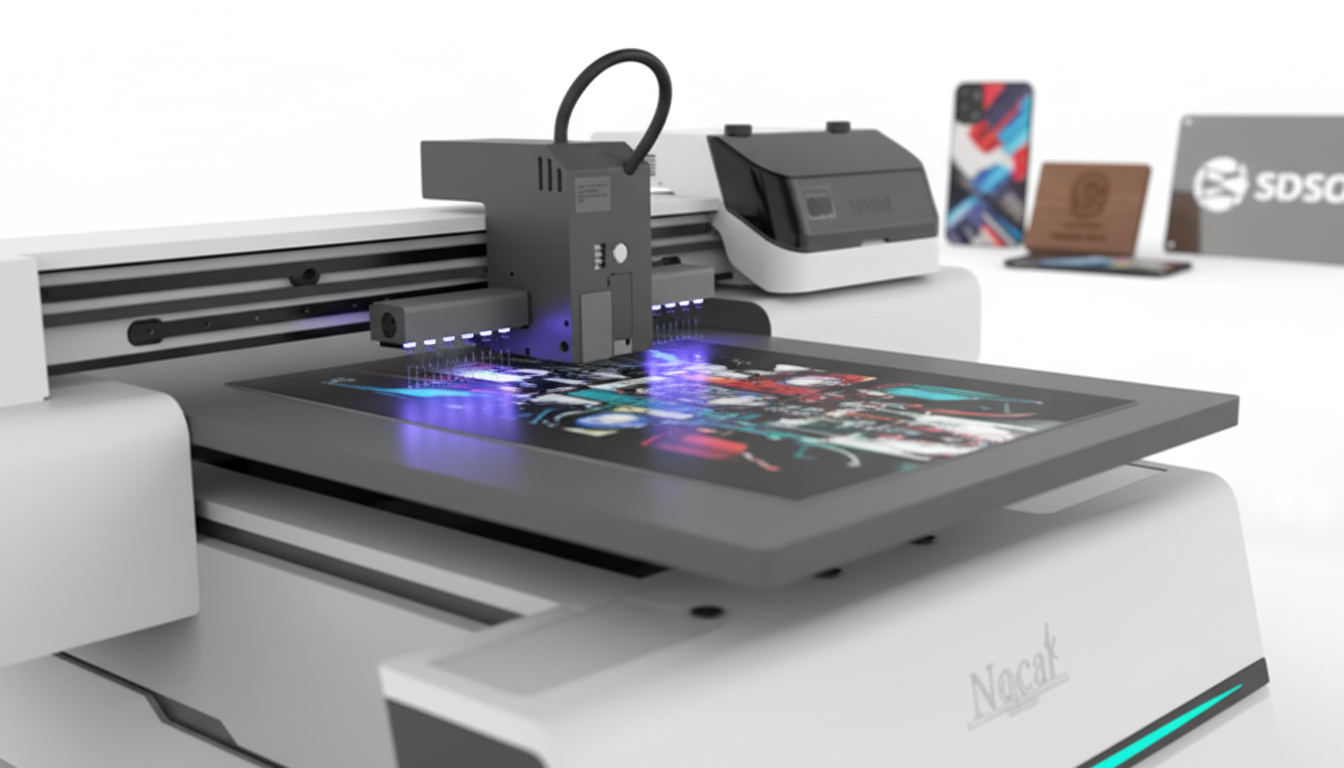
Step 3: Printing with UV Flatbed or Roll-Fed Printer
Send the print file (graphics + registration marks) to your UV printer:
- UV flatbed: For rigid substrates (acrylic, PVC, aluminum composite, foam board)
- UV roll-to-roll: For flexible media (vinyl, banner, fabric)
Print quality and material stability both affect final cut accuracy. Ensure proper curing and allow materials to stabilize if needed.
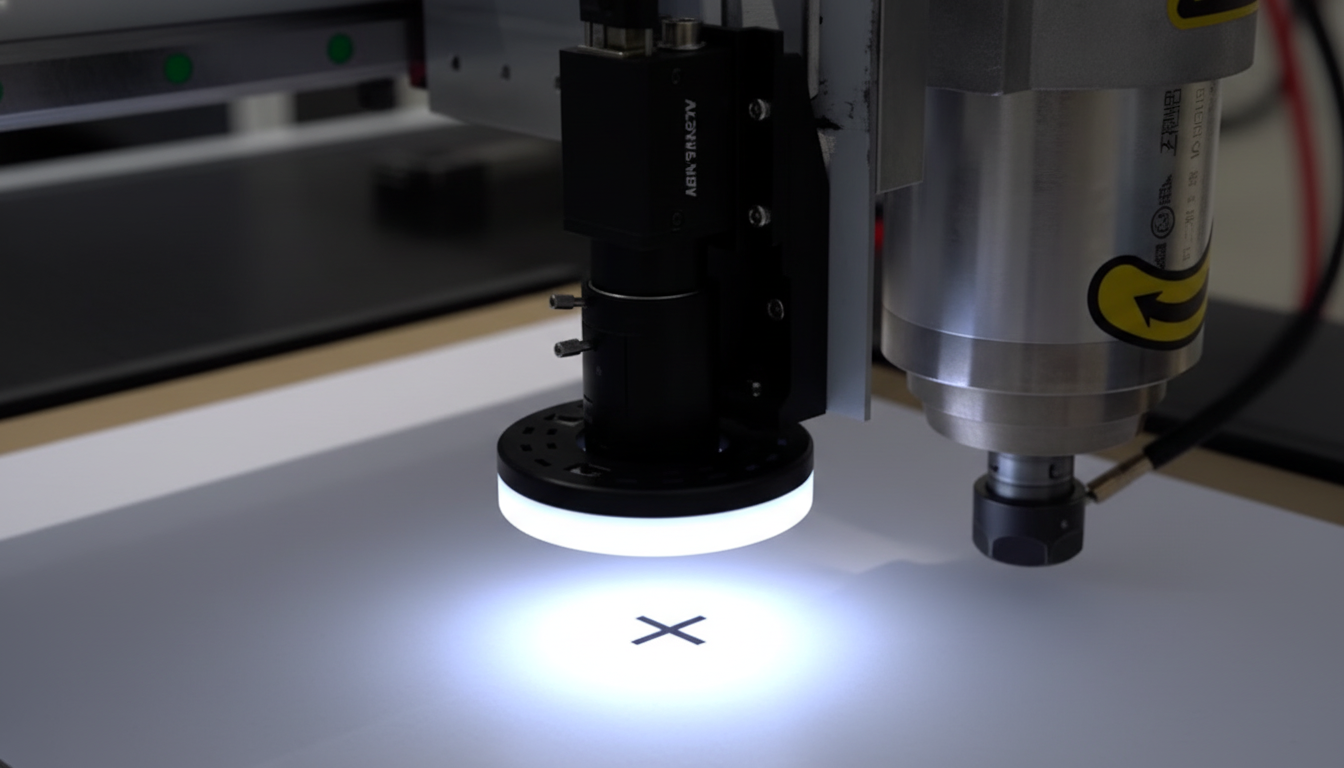
Step 4: CCD Camera Mark Detection
Load the printed material onto the cutter bed. The CCD camera system:
- Scans the material to locate registration marks
- Calculates the actual position, rotation, and scale of the print
- Compares to the expected positions from the design file
- Generates transformation data to adjust cut paths
This process typically takes seconds and happens automatically once initiated.
Step 5: Contour Cutting Execution
The cutter (laser, knife, or router) executes the adjusted cut paths:
- CO2 laser: Ideal for vinyl, paper, thin plastics, fabric—sealed edges
- Digital knife cutter: For thicker materials, kiss-cuts, creasing
- CNC router: For rigid materials requiring through-cuts
The machine follows the transformed path, cutting precisely around the printed graphics.
Step 6: Weeding and Finishing
After cutting:
- Remove waste material (weeding)
- Apply transfer tape if needed (vinyl graphics)
- Quality check alignment
- Package for delivery
Equipment Options for Each Stage
Printing Stage
UV Flatbed Printers:
- Print directly on rigid substrates
- White ink capability for colored/clear materials
- Instant cure—no drying time
- Various bed sizes available
UV Roll-to-Roll Printers:
- Handle flexible materials on rolls
- Higher throughput for long runs
- Ideal for vinyl, banner, fabric
Cutting Stage
CO2 Laser Cutters (with CCD):
- Excellent for vinyl, paper, fabric, thin acrylic
- Sealed/polished edges
- Very fine detail capability
- Fast cutting speeds
Digital Die Cutters:
- Knife or creasing tools
- Kiss-cutting for labels on release liner
- Creasing and perforating for packaging
- Handle thicker materials
CNC Routers (with CCD):
- Through-cutting rigid materials
- Heavier substrates (foam board, composites)
- Can combine routing with knife or creasing tools
Registration Mark Best Practices
Mark Placement
- Position marks outside the cut area but within camera range
- Maintain consistent distance from artwork
- Use at least three marks for full transformation (position, rotation, scale)
- Four marks provide distortion compensation
Mark Sizing
- Standard circular marks: 5-10mm diameter
- Larger marks = easier detection but more waste area
- Smaller marks = space efficient but may affect accuracy
- Match mark size to camera resolution
Color Considerations
- Maximum contrast with background (black on white preferred)
- Solid filled marks (not outlines)
- Avoid marks on reflective or textured areas
- Some systems detect marks on colored backgrounds
Handling Print Distortion
Prints aren't always perfect. Registration systems compensate for:
- Media stretch or shrinkage
- Slight rotation during loading
- Printer calibration drift
- Environmental effects on media
Using more registration marks provides better distortion correction.
Software for Print-to-Cut
Design Software
Create your graphics and cut paths in:
- Adobe Illustrator: Industry standard, excellent path tools
- CorelDRAW: Popular in sign industry, good contour tools
- Inkscape: Free option with capable vector tools
RIP Software
Raster Image Processors prepare files for printing and often handle registration marks:
- Auto-generate registration marks
- Color management for print
- Nesting and tiling
- Output cut files separately
Cutting Software
Controls the cutter and integrates with CCD camera:
- Imports cut paths from design files
- Controls camera detection sequence
- Applies transformation to cut paths
- Manages cutting parameters (speed, power)
Workflow Automation
Production environments benefit from:
- Hot folders that auto-process files
- Barcode-initiated job loading
- Job queue management
- Production tracking
Common Print-to-Cut Applications
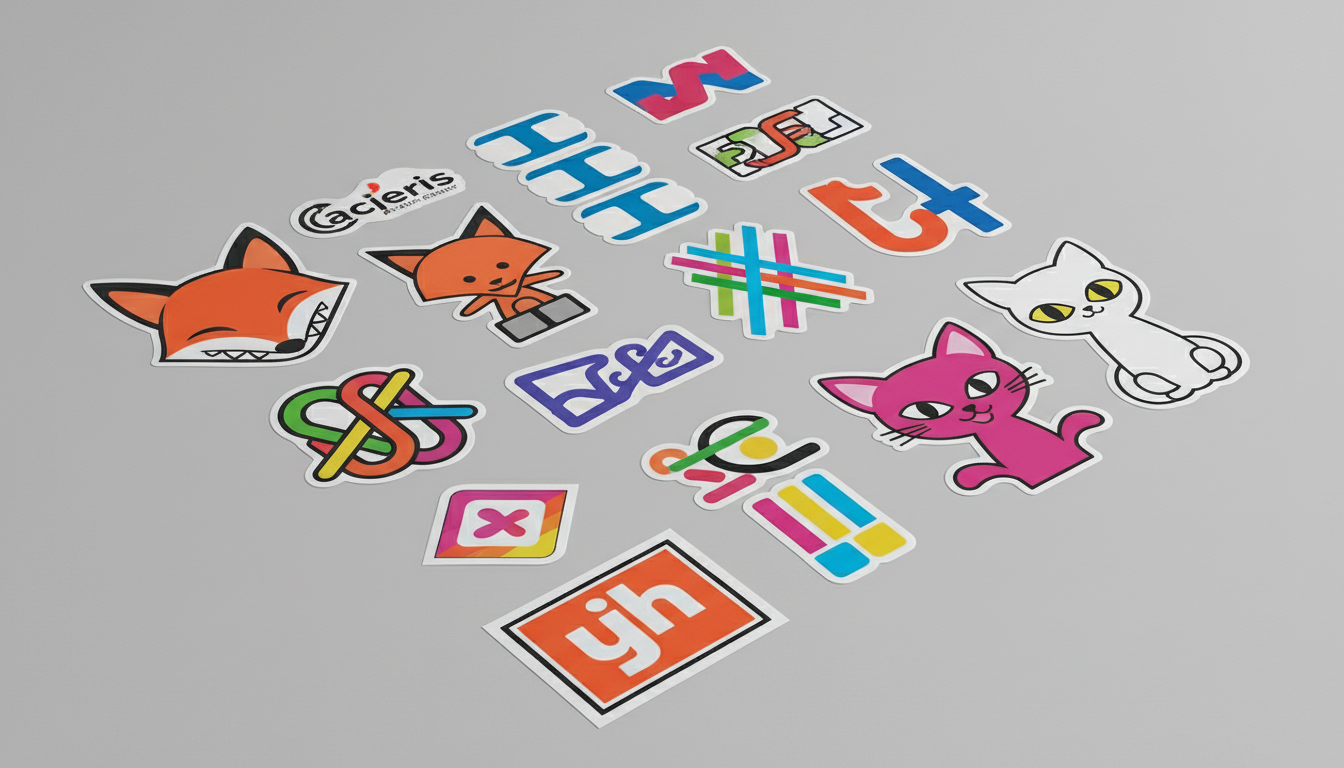
Custom Stickers and Decals
The most common print-to-cut application:
- Print on vinyl or paper stock
- Contour cut around graphics
- Kiss-cut to release liner or through-cut
- Individual pieces or sheets
Packaging Prototypes
Rapid packaging development:
- Print graphics on cardstock
- Cut die lines and creases
- Fold and assemble same day
- Iterate designs quickly
Point-of-Purchase Displays
Custom retail displays:
- Print on foam board or corrugated
- Cut structural shapes
- Add fold lines and slots
- Quick assembly
Floor Graphics
Large format printed graphics:
- Print on floor-rated vinyl
- Contour cut with safe zone
- Handle registration across large areas
- Laminate for durability
Apparel Transfers and Patches
Custom wearables:
- Print on transfer paper or fabric
- Contour cut around designs
- Heat press application
- Or cut fabric for sewn patches
Troubleshooting Print-to-Cut Issues
Mark Detection Failures
Camera can't find registration marks:
- Check lighting conditions (glare, shadows)
- Verify mark contrast is sufficient
- Clean camera lens
- Ensure marks printed completely
- Check for debris covering marks
Consistent Offset Errors
Cuts are shifted from print by same amount:
- Calibrate camera-to-cutting-head offset
- Verify mark position in design file matches print
- Check for shifted material during loading
Scale or Stretch Issues
Cuts are proportionally wrong:
- Verify print output matches design dimensions
- Check for media stretch during printing
- Ensure registration system is using all marks
- Allow freshly printed material to stabilize
Rotation Problems
Cuts are rotated from expected:
- Use at least two registration marks
- Load material squarely on bed
- Verify marks detected in correct order
Building Your Print-to-Cut Workflow
Single-Machine vs. Multi-Machine
Some machines offer both printing and cutting in one unit. Trade-offs include:
- Single machine: Less floor space, simpler workflow, but limited throughput (can't print and cut simultaneously)
- Separate machines: Higher throughput (print while cutting), dedicated optimization, but more space and investment
Space and Layout
Consider material flow:
- Printer feeds to cutting area
- Space for material staging between steps
- Finishing and weeding station
- Storage for materials and finished goods
Training Requirements
Successful print-to-cut requires understanding:
- Design file setup with proper layers
- Registration mark specifications
- Printer operation and color management
- Cutter operation and material settings
- CCD camera calibration and use
- Troubleshooting common issues
Getting Started
The right equipment combination depends on your products, volumes, and materials. Key questions:
- What materials will you primarily cut?
- What's your typical job size and volume?
- Do you need rigid substrate capability?
- What level of detail and accuracy is required?
Contact our team to discuss print-to-cut equipment solutions. We can help you design a workflow that matches your production needs, with training to ensure success.
Explore our UV printers and CCD-equipped cutters for complete print-to-cut capability.
Ready to get started?
Browse our equipment inventory or get in touch with our team for expert advice on your next project.