Master registration marks for precise contour cutting. Learn mark types, placement specifications, software setup, and troubleshooting for perfect alignment between print and cut.
What Are Registration Marks?
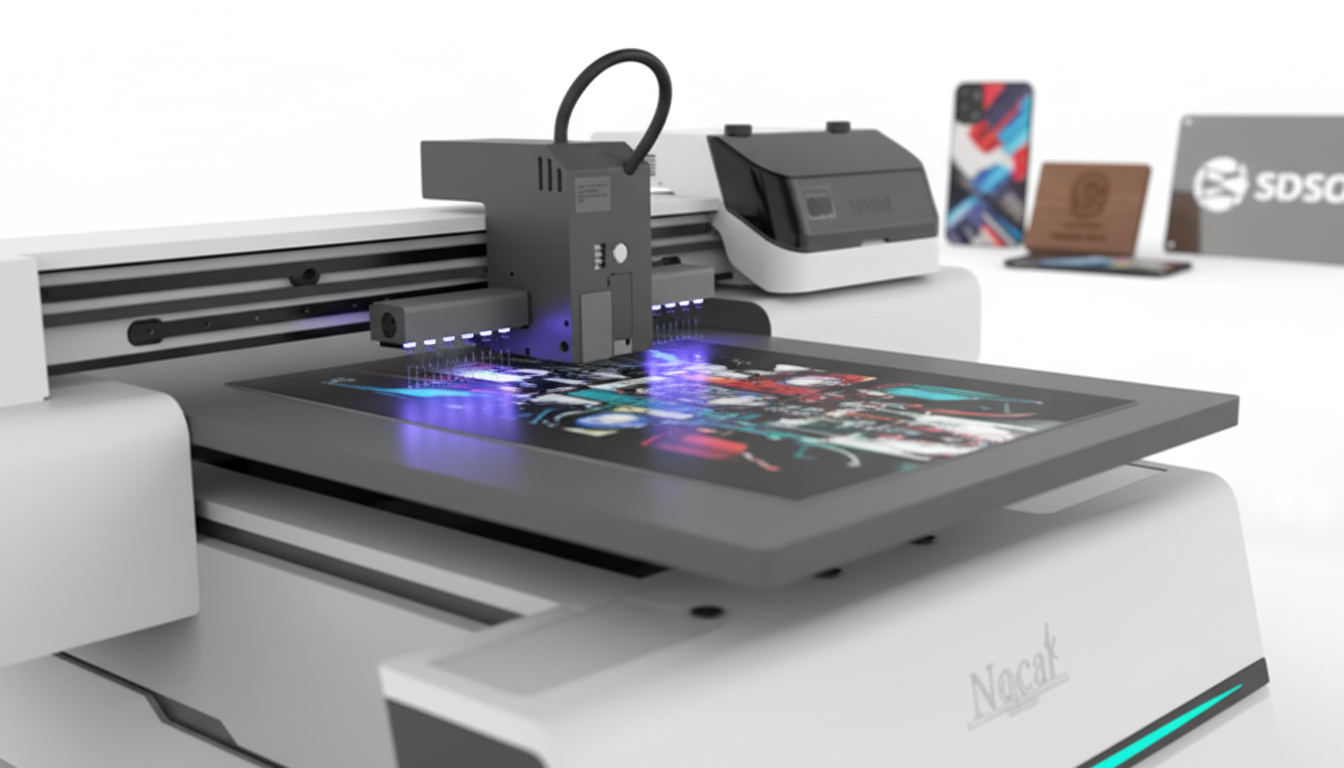
Registration marks are printed targets that CCD camera systems use to locate the position of printed content. When the camera detects these marks, the cutting machine calculates exactly where the print is located, how it's rotated, and whether it's stretched or scaled—then adjusts the cut path to match.
Without registration marks, cutting printed graphics requires manual alignment for every piece—slow, inconsistent, and impossible for complex contours. With registration marks, the entire process is automatic and precise.
How Machines Interpret Registration Marks
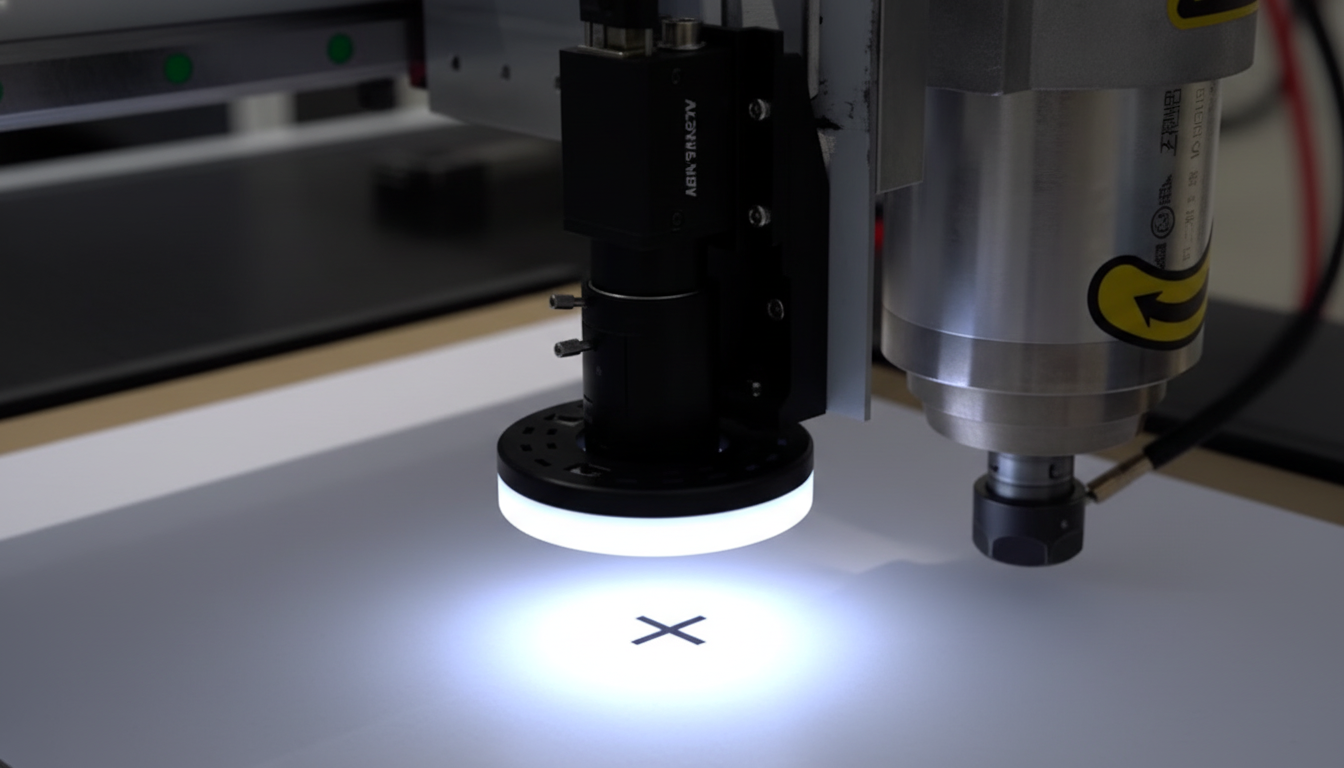
- Camera captures image of mark area
- Software identifies mark center point
- Multiple marks provide position, rotation, and scale data
- Software calculates transformation matrix
- Cut paths are adjusted to match actual print position
Types of Registration Systems
Single-Point Registration
- Uses one registration mark
- Determines X and Y position only
- Cannot compensate for rotation or scaling
- Simplest but least accurate
- Only suitable when print position is very consistent
Two-Point Registration
- Uses two marks (typically opposite corners)
- Compensates for position and rotation
- Limited scale compensation (one axis)
- Good for consistent print quality
- Common for basic print-to-cut
Three-Point Registration
- Uses three marks (typically corners of a triangle)
- Full transformation: position, rotation, X and Y scale
- Handles most print variation
- Industry standard for quality work
- Recommended minimum for production
Four-Point Registration
- Uses four marks (all corners)
- Maximum accuracy with distortion correction
- Compensates for non-uniform scaling (keystone, skew)
- Best for large format or unstable media
- Highest accuracy for demanding applications
Registration Mark Specifications
Optimal Mark Size
Mark size balances detectability against waste area:
- Small (3-5mm): Space efficient, requires high-resolution camera
- Standard (5-10mm): Good balance, works with most systems
- Large (10-15mm): Easy detection, uses more material, may be needed for lower-resolution cameras
Check your equipment specifications for recommended mark sizes.
Placement Distance from Artwork
- Marks should be outside the cut area
- Typical spacing: 5-15mm from nearest cut path
- Allow clearance for any bleed or overprint
- Keep within camera's detection range
- Consider material waste area
Mark Spacing
For multi-mark systems:
- Spread marks as far apart as practical
- Wider spacing = better accuracy
- Marks too close together reduce transformation accuracy
- Typical: marks at or near corners of print area
Color and Contrast Requirements
- Maximum contrast: Black marks on white background (or reverse)
- Solid fill: Not outlines or patterns
- Matte preferred: Avoid reflective inks if possible
- Consistent color: Same ink/density for all marks
Mark-to-Cut-Path Relationship
In your design file:
- Marks and cut paths must be in known positions relative to each other
- Use separate layers for clarity
- Don't move marks after cut paths are finalized
- Export both from same design file
Adding Registration Marks in Software
Adobe Illustrator Workflow
- Create artwork on one layer
- Create cut paths on separate layer
- Add registration marks on third layer
- Position marks at consistent offsets from artwork
- Export print file (artwork + marks)
- Export cut file (cut paths + marks, or marks reference)
CorelDRAW Workflow
- Use object manager for layer organization
- Create contour paths using Contour tool or manual tracing
- Add marks as simple circles or using mark templates
- Export to appropriate formats for print and cut
RIP Software Auto-Generation
Many RIP packages automatically add registration marks:
- Configure mark type, size, and position
- RIP adds marks during print processing
- Export cut file with matching mark positions
- Reduces manual setup errors
Best Practices for File Setup
- Use consistent mark positions across jobs
- Create templates for common layouts
- Verify mark positions before printing
- Test with sample cuts before production
Factors Affecting Registration Accuracy
Print Media Stability
- Paper: Can stretch with humidity changes
- Vinyl: Generally stable, some stretch under tension
- Film: Temperature sensitive, can distort
- Rigid substrates: Most stable
Allow freshly printed flexible media to stabilize before cutting.
Printer Calibration
- Print accuracy affects registration mark positions
- Calibrate printers regularly
- Verify output dimensions match design dimensions
- Check for consistent print quality across the bed
Camera Calibration
- Camera-to-cutting-head offset must be accurate
- Calibrate after any maintenance or adjustment
- Verify accuracy periodically
- Check at multiple bed positions
Lighting Conditions
- Consistent lighting aids detection
- Avoid shadows across marks
- Reduce ambient light interference
- Some systems include integrated lighting
Machine Mechanical Accuracy
- Belt tension affects positioning
- Backlash in motion system
- Bed flatness for focus consistency
- Regular maintenance maintains accuracy
Environmental Factors
- Temperature changes affect some materials
- Humidity affects paper-based media
- Air currents can shift lightweight materials
- Climate-controlled environments are ideal
Troubleshooting Registration Problems
Marks Not Detected
Camera can't find registration marks:
- Verify marks printed correctly (not missing or faded)
- Check camera lens for debris or fog
- Improve lighting conditions
- Verify mark color provides sufficient contrast
- Check for reflective interference
- Ensure marks are within camera detection area
Consistent Offset Errors
Cuts are shifted by same amount on every piece:
- Recalibrate camera-to-head offset
- Verify design file mark positions match printed positions
- Check for shifted material during loading
- Verify cut file origin matches camera reference
Scale or Stretch Issues
Cuts are proportionally wrong (too big or small):
- Verify print output matches design dimensions
- Check for media stretch in printer
- Ensure registration system is using all marks
- Allow unstable media to relax before cutting
- Verify software is applying scale compensation
Rotation Problems
Cuts are rotated from expected:
- Use at least two registration marks
- Load material squarely on bed
- Verify marks detected in correct sequence
- Check for marks at wrong positions in design file
Variable Accuracy Across Bed
Some areas cut accurately, others don't:
- Check camera calibration at multiple positions
- Verify bed is flat and level
- Check for mechanical issues (belt tension, rail alignment)
- Use four-point registration for large prints
Advanced Registration Techniques
Barcode-Initiated Job Loading
Production environments can use barcodes to:
- Automatically load correct cut file
- Reduce operator file selection errors
- Track job progress through production
- Enable mixed-batch processing
Segmented Registration for Large Graphics
Very large prints may need:
- Multiple registration mark sets across the print
- Segmented detection (scan marks in zones)
- Tiled cutting with overlap compensation
- Specialized large-format registration solutions
Multi-Sheet Registration Continuity
For jobs spanning multiple sheets:
- Consistent mark positions across all sheets
- Reference marks for sheet-to-sheet alignment
- Job management for multi-sheet tracking
- Quality control at sheet boundaries
Equipment Features for Superior Registration
When selecting CCD-equipped equipment, consider:
Camera Resolution
Higher resolution = more precise mark center detection. Look for systems that specify accuracy in fractions of a millimeter.
Detection Speed
Production environments benefit from fast mark detection. Some systems scan all marks simultaneously; others scan sequentially.
Automatic Compensation
Better systems automatically handle rotation, scale, and distortion without operator intervention.
Software Integration
Seamless integration with your design software reduces errors and speeds workflow.
Contact our team to discuss CCD camera systems that deliver the registration accuracy your production requires.
Browse our equipment with integrated CCD registration for precision contour cutting.
Ready to get started?
Browse our equipment inventory or get in touch with our team for expert advice on your next project.